Visual communication is important in the present day. Whether you’re designing a social media post, a captivating presentation, or designing a professional website, impactful design is essential for grabbing attention and conveying your message effectively. However, for those who don’t know how to design a professional image for their business with tools or color theory, the task of producing such a professional-looking image can be intimidating. This barrier can make it challenging to compete in a world where striking and meaningful graphics are the norm. Nevertheless, with the right tools and a bit of guidance, anyone can create visuals that not only look professional but also resonate with their intended audience. In this article, I am excited to unveil a powerful combination, when used effectively, that can help you create professional designs for your business with Envato Elements, Grammarly, and Canva package.
Creating Professional Designs With Envato, Grammarly, and Canva Package
1. Envato Elements:
Source: Envato
So First we start from Envato. Envato Elements is a subscription service that provides unlimited access to a massive library of high-quality design assets. Think of it as a one-stop shop for everything you need to create professional designs, including:
- Stock Photos & Illustrations: Millions of royalty-free images to perfectly complement your design vision. Find everything from product shots to lifestyle photos and stunning illustrations that elevate your project.
- Graphics & Icons: A vast collection of vector graphics and icons, all meticulously crafted and available in various formats for seamless integration into your designs.
- Fonts: Elevate your designs with a diverse library of professional fonts, perfect for headlines, body text, or creating a unique brand identity.
- Templates: Jumpstart your design process with a wide range of pre-made templates for everything from social media posts to presentations, brochures, and more. These templates are fully customizable, allowing you to tailor them to your specific needs while saving you precious time.
- Video & Audio Assets: Breathe life into your projects with royalty-free video clips and high-quality audio tracks. Envato Elements offers a treasure trove of options to add that extra layer of engagement to your designs.
How to Use Envato Elements for Creating a Professional Design:
Using Envato Elements to create professional designs can streamline your creative process and elevate the quality of your projects. Here’s a step-by-step guide on how to make the most of this powerful resource:
- Sign Up and Explore Subscriptions: Open the Envato Elements website on Google and sign up for a subscription. They offer different plans based on your needs, such as monthly or yearly subscriptions, which provide unlimited access to their assets.
- Browse and Search for Assets: Once you have access, take advantage of the intuitive search features. You can browse by category like graphics, templates, photos, and videos, or use keywords to find specific items that match your project’s requirements.
- Download Relevant Assets: When you find assets that fit your design needs, download them. Each asset comes with a license that allows you to use it in various projects. Be sure to check the license for any usage restrictions.
- Use Templates for Quick Designs: Envato Elements offers thousands of templates for everything from PowerPoint presentations to website designs. These templates are customizable, allowing you to adjust colors, fonts, and layouts to match your branding and style.
- Incorporate Graphics and Images: Enhance your designs with high-quality graphics and images from Envato Elements. Adding these can make your projects more visually appealing and professional.
- Edit and Customize: Use your preferred design software, like Adobe Photoshop, Illustrator, or Canva, to customize and edit the assets you’ve downloaded. Design them to fit your project’s specific needs, altering elements as necessary.
- Integrate Text and Fonts: Don’t forget about typography. Envato Elements also provides a wide range of fonts, which can be used to create cohesive and stylish text elements in your designs.
- Finalize Your Design: After customizing your assets and composing your layout, review your design to ensure everything is aligned and harmonious. Make any necessary adjustments.
- Export and Use Your Design: Once your design is complete, export it in the appropriate format for its intended use, whether for print or digital.
- Keep Assets Organized: Maintain an organized library of downloaded assets and licenses for future reference and use, which will help streamline your workflow for subsequent projects.
2. Grammarly:

Source: Grammarly
Grammarly is a powerful writing assistant that goes beyond basic spell check. It helps you craft clear, concise, and error-free written content, making it perfect for any design project that involves text. Here’s how Grammarly can elevate your designs:
- Grammar & Punctuation: Grammarly meticulously checks your text for grammatical errors, typos, and punctuation mistakes. This ensures your design conveys the intended message with professionalism and clarity.
- Clarity & Engagement: It analyzes your writing style and suggests improvements for better readability and flow. This is particularly crucial for headlines, call-to-actions, and any other text within your designs.
- Vocabulary Enhancement: Grammarly offers suggestions to improve your word choice and sentence structure, making your writing more impactful and engaging.
- Plagiarism Checker: Ensure your text is original with Grammarly’s plagiarism checker. This is vital for maintaining credibility, especially when using quotes or referencing external sources.
Also Read: A Step-by-Step Guide to Using Marketing Automation Tools Sleek_Flow
How to Use Grammarly for Creating a Professional Design:
Here’s a simple guide for beginners on how to use Grammarly in your design workflow:
- Sign Up and Install Grammarly: Start by visiting the Grammarly website. Sign up for an account, which is available in both free and premium versions. For a more comprehensive set of writing enhancements, consider the premium version. After signing up, install Grammarly’s browser extension, or desktop app, or add it as an add-in to your preferred software, such as Microsoft Office.
- Set Your Goals: Grammarly allows you to set specific goals based on the audience, formality, tone, and intent of your text. Adjusting these settings helps Grammarly provide tailored suggestions that align with the context of your design project.
- Write Your Content: Whether you’re drafting text directly in the design tool or preparing it in a word processor, Grammarly can check your writing in real-time. If you’re using design tools that Grammarly doesn’t directly integrate with, such as Adobe InDesign or Photoshop, first draft your text in a supported app or tool where Grammarly operates.
- Review Grammarly Suggestions: As you write, Grammarly will underline mistakes and offer suggestions. These can include corrections for grammar, punctuation, spelling, and style issues. Click on the underlined words to see the suggestions, and choose whether to accept or ignore them.
- Enhance Clarity and Engagement: Beyond basic grammar and spelling, Grammarly can help refine the clarity, engagement, and delivery of your text. Use these features to make sure your writing is concise, engaging, and appropriate for your audience.
- Check for Plagiarism: If you’re using Grammarly Premium, you can also check your text for plagiarism to ensure originality. This is particularly useful in maintaining the credibility of your professional designs.
- Copy and Integrate Your Text: Once your text is polished, copy it from your writing platform and paste it into your design. Adjust the typography and placement to complement your overall visual layout.
3. Canva:
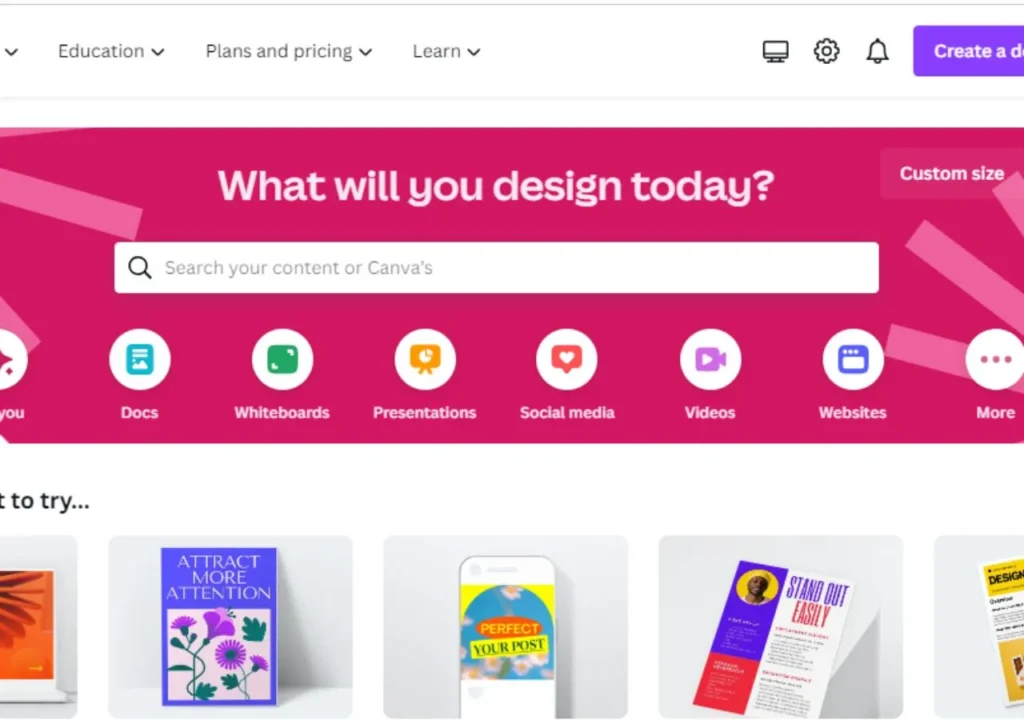
Canva is a user-friendly graphic design platform that allows you to create stunning images without any prior design knowledge. It offers a drag-and-drop interface, making it easy to combine the design assets you downloaded from Envato Elements and craft your vision into reality. Here’s a breakdown of Canva’s key features:
- Drag-and-Drop Design: Canva eliminates the intimidation factor of design software with its intuitive drag-and-drop interface. Simply select elements from their library or upload your own, and arrange them on the canvas to create your design.
- Pre-Made Templates: Canva boasts a vast collection of pre-made templates for various design needs, including social media posts, presentations, brochures, posters, and more. These templates provide a strong foundation and can be customized with your brand colors, fonts, and Envato Elements assets.
- Design Elements: Canva offers a built-in library of design elements like lines, shapes, frames, and illustrations. While not as extensive as Envato Elements, this library provides basic elements to enhance your designs.
- Photo Editing Tools: Canva incorporates basic photo editing tools like cropping, resizing, and applying filters. You can further enhance your Envato Elements photos within Canva to perfectly suit your design needs.
- Collaboration Tools: Canva allows real-time collaboration on designs with your team members. This is perfect for projects requiring multiple inputs and approvals.
How to Use Canva for Creating a Professional Design
Using Canva to create professional designs is a straightforward process, even for beginners. Here’s a step-by-step guide to help you get started:
Sign Up for Canva:
First, visit the Canva website and sign up for an account. You can choose between a free or a paid subscription. The paid version, Canva Pro, offers additional features such as more templates, advanced design tools, and the ability to upload custom fonts and logos.
Choose Your Design Type:
Canva offers a wide range of pre-set design types, including presentations, social media graphics, posters, flyers, and more. Select the type that matches your project needs. This will provide you with the appropriate dimensions and a variety of templates to start from.
Select a Template:
Browse through Canva’s extensive collection of templates to find one that suits your design vision. These templates are fully customizable and can serve as a solid foundation for your design.
Customize Your Design:
Click on the elements in the template to customize them. You can change text, fonts, colors, and images. Canva also allows you to upload your images or choose from their vast library of stock photos and graphics.
Add Branding Elements:
If you’re creating a design for a business, consider incorporating branding elements such as logos, specific color schemes, and branded fonts. This helps in maintaining consistency across all your materials.
Adjust Layouts and Backgrounds:
Experiment with different layouts and background colors or patterns to enhance the visual appeal of your design. Canva provides easy-to-use drag-and-drop tools that make these adjustments quite simple.
Use Design Features:
Utilize Canva’s features like text effects, transparency, and animation (for digital designs) to add a professional touch to your visuals.
Preview and Revise:
Regularly preview your design to see how it looks as a finished product. Make adjustments as needed to ensure that all elements are aligned, balanced, and visually appealing.
Download or Share Your Design:
Once you’re satisfied with your design, you can download it in various formats such as PNG, JPG, or PDF. Canva also offers options to share your design directly to social media platforms or with colleagues via email or a Canva link.
Explore Canva’s Resources:
To further enhance your design skills, explore Canva’s Design School, which offers tutorials and resources on various aspects of graphic design. This can be especially useful for beginners looking to improve their design abilities.
Canva: Beyond the Basics
Canva offers additional features to streamline your design workflow:
- Brand Kit: Create and store your brand assets, including colors, fonts, and logos, within Canva for consistent branding across all your designs.
- Content Planner: Plan your social media content calendar and schedule posts directly within Canva, saving you time and effort.
- Stock Photo Integrations: Canva integrates with popular stock photo services like Pexels and Pixabay, allowing you to search for additional photos directly within the platform.
Putting the Envato Elements, Grammarly, and Canva Package to Work
Now that you understand the strengths of each tool, let’s explore how Envato Elements, Grammarly, and Canva package work together to create professional designs:
- Conceptualization & Planning: Start by brainstorming your design concept and plan the layout using sketches or mind maps. Define your target audience and the message you want to convey.
- Asset Selection: Head over to Envato Elements and search for high-quality photos, illustrations, fonts, or templates that resonate with your concept. Download the assets you’ll be using in your design.
- Content Creation: Open Canva and choose a suitable template or start with a blank canvas. Drag and drop your downloaded Envato Elements assets onto the canvas and arrange them according to your plan.
- Refine Your Text: Write your design’s text directly in Canva or import existing copy. Use Grammarly to check for errors, improve clarity, and suggest stronger vocabulary to elevate your message.
- Branding & Customization: Apply your brand colors and fonts to the design elements, ensuring consistency with your brand identity. Use Canva’s editing tools to fine-tune the look and feel of your design.
- Collaboration & Feedback: If working with a team, utilize Canva’s collaboration features to share your design and receive feedback. Address any suggestions and refine your design further.
- Download & Share: Once satisfied with your creation, download your design in the appropriate format for your project’s needs (e.g., PNG for web graphics, PDF for printable materials). Share your design across various platforms or use it for its intended purpose.
Conclusion:
The Envato Elements, Grammarly, and Canva package empowers anyone to create professional-looking designs. With its vast library of assets, real-time writing assistance, and user-friendly design interface. This package empowers you to bring your creative vision to life, even without prior design experience. Remember, design is a continuous learning process. Embrace experimentation, seek inspiration, and keep practicing to refine your skills and become a design pro!